前言
在平常的开发工作中,由于各种特殊业务的需求,以及UI的各种脑洞设计,在这种场景下,Android中的基本控件就有些力不从心了。由此,掌握自定义View已慢慢变成大家必备的技能之一了。今天,就带大家进入自定义View的基础篇。
下边就是我们今天要实现的简单自定义View的效果图: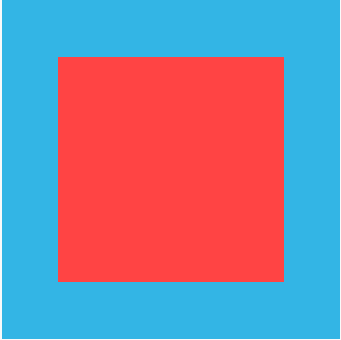
其中,蓝色的为CustomView背景色,中间红色区域为CustomView的内容显示区域,我们暂称为ContentView。
概括
自定义View的基本步骤如下:
1、 继承View类或View的子类
2、 实现自定义View属性
3、 重写onMeasure()方法
4、 重写onDraw()方法
小注:以上步骤2、3、4可以根据自己的需求定制,非必需实现步骤。
具体实现
继承View类或View的子类
这一步比较简单,只需要实现一个继承自View或View子类的类,并实现构造方法即可。
若我们要完全自己定义View控件,可如下操作:
|
|
此外,如果我们是在View子类的基础上进行自定义控件,类似操作如下:
|
|
实现自定义View属性
在项目res/values/下新建attrs.xml(当然其它名称也是可以的),在其中声明相关属性如下:
|
|
其中,attar的格式即单位有:dimension(尺寸)、boolean(布尔)、color(颜色)、enum(枚举)、flag(位或)、float(浮点)、fraction(百分比)、integer(整型)、reference(资源引用)、string(字符串)。
在布局文件res/layout/activity_mian.xml的用法如下:
|
|
注意:引用自定义属性,需要声明命名空间:
xmlns:shorr="http://schemas.android.com/apk/res-auto"
在CustomView的构造方法中初始化相关自定义属性:
|
|
注意:TypedArray对象是一个共享资源,使用后必须调用
recycle()回收。目的是为了缓存资源,这样每次调用TypedArray的时候都不再需要重新分配内存,方便了其它地方的复用。
重写onMeasure()方法
|
|
在getMeasureSize()方法中,我们通过measureSpec得到当前测量的大小和模式。并通过不同的模式我们计算得到了最终的CustomeView的尺寸大小。
SpecMode有三种类型:
- UNSPECIFIED:父容器对View没有任何限制。多用于系统内部的测量中。
- AT_MOST:父容器给View的最大可用尺寸。它对应于View的
wrap_content属性。 - EXACTLY:父容器给View的具体可用尺寸。它对应于View的
match_parent或dp/px(具体的尺寸)。
注意:在AT_MOST模式,即
wrap_content属性下,要处理好View的padding属性。
此外,MeasureOrientation为自定义的枚举,为了区分记录View测量的方向(宽、高):
最后,得到测量后的值后,我们需要通过setMeasuredDimension(width, height);来为CustomeView设置测量值。
重写onDraw()方法
|
|
在onDraw()方法中,我们首先获取了CustomView的宽高、padding值,并根据有无设置gravity属性来分别处理了ContentView要显示矩形范围。最后,通过drawRect()方法绘制出了要显示的ContentView。
效果展示
设置padding属性
|
|
效果图: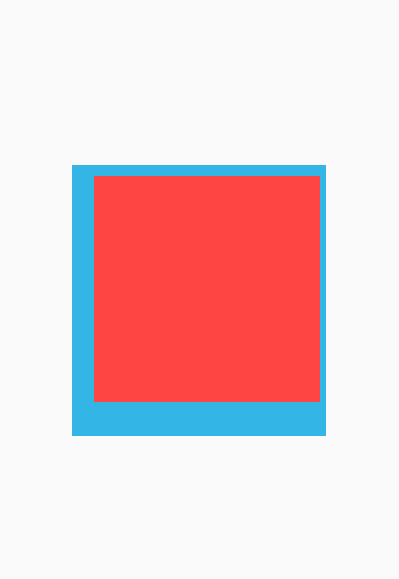
设置gravity属性
|
|
效果图: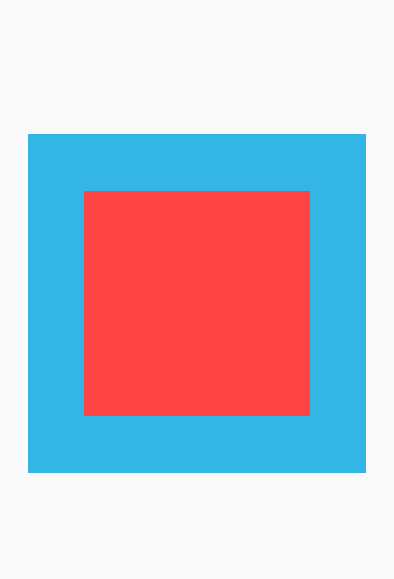
CustomView完整代码
|
|
结语
今天,主要介绍了要实现一个基础自定义View的步骤,本篇demo只是简单的实现了一个CustomView,具体的实现效果大家可以根据自己的需求进行具体的定制。下一篇,将结合项目具体需求,给大家带来一个自定义View的实例篇,敬请期待~
Demo源码 请点击此处下载(https://github.com/shorr/notes_demo/tree/master/CustomView)